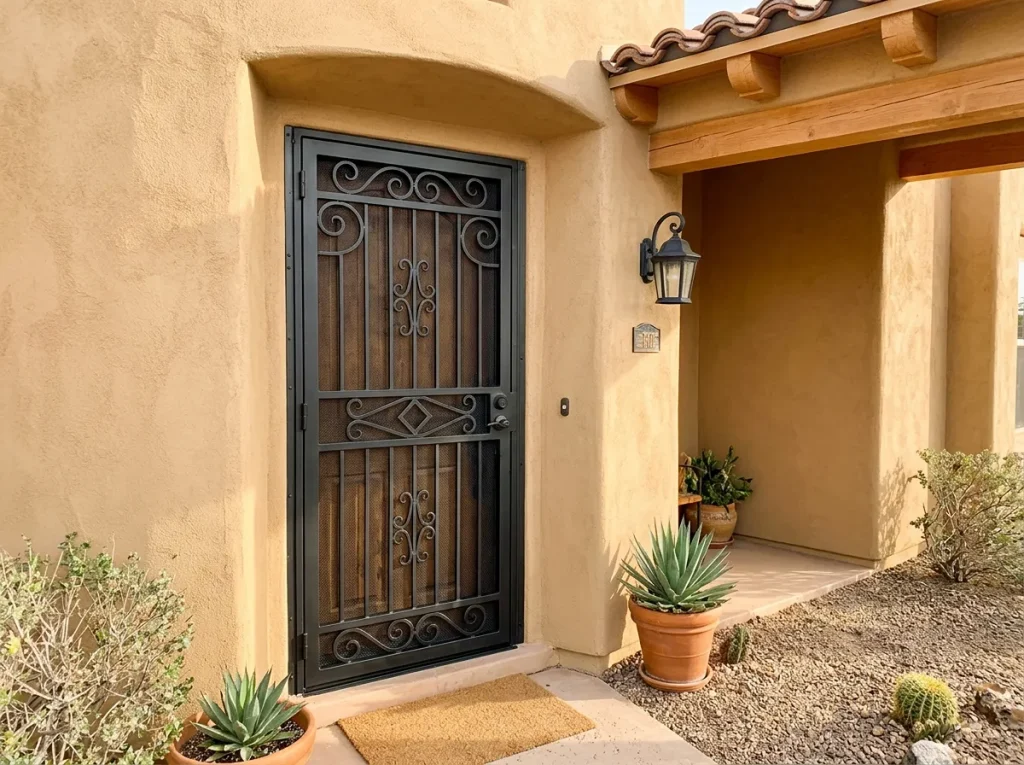
You’ve decided to add a security door. You’ve compared steel gauges, locking systems, and finishes. Now comes the part that determines whether that door actually protects anyone: installation.
Here’s the uncomfortable truth most homeowners discover too late: a premium security door hung in a weak frame, anchored only into stucco, offers roughly the same protection as a regular door. It looks reassuring. It performs like decoration. An intruder who can pry the entire unit out of the wall doesn’t need to defeat the lock at all.
That’s why security door installation is not a task to hand off to whoever is available. It requires the right anchoring technique, the right flashing, and an understanding of how your specific wall is built especially in Arizona’s stucco homes.
This guide walks you through what professional installation actually involves, why each step matters, what it costs, and the mistakes that quietly undermine otherwise good doors. If you’re in the Phoenix metro area and want local expertise, Windowz4Less Arizona works with homeowners across the Valley.
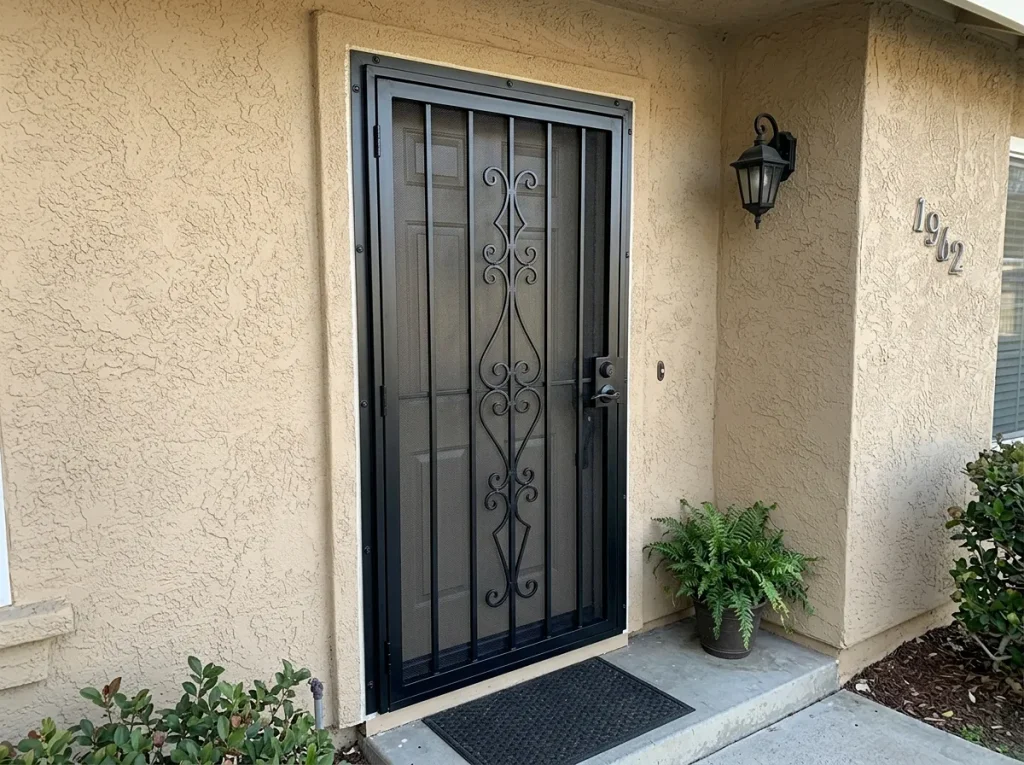
Key Takeaways / Quick Summary
- Security doors typically take 2–3 hours to install; complex or custom units take longer
- Professional installation labor runs 150–400+, with total installed costs of 400–2,000+
- Anchoring into structural framing is the single most important step stucco alone provides almost no holding power
- The door must be anchored at multiple points along the frame, not just at the hinge side
- Proper flashing prevents water intrusion, which is the leading cause of frame and anchoring failure over time
- Security doors should be installed as outswing for maximum resistance to forced entry
- Arizona’s stucco exteriors require cutting back the stucco to reach structural framing a step inexperienced installers often skip
- Most manufacturer warranties require professional installation to remain valid
Why Security Door Installation Matters So Much
Let’s be blunt about what a security door is and isn’t.
A security door is a physical barrier. It works by making forced entry slow, loud, and difficult enough that an opportunistic intruder gives up. That entire premise depends on the door, frame, and wall acting as one connected system.
If any link in that chain is weak, the barrier fails:
- A strong door in a weak frame → the frame bends or splits
- A strong frame anchored only into stucco → the whole unit pries out of the wall
- A properly anchored unit with bad flashing → water rots the framing behind it, and the anchors lose their grip within a few years
- A properly installed unit that’s misaligned → the locks don’t engage fully, and the door becomes a nuisance rather than a barrier
In other words, installation isn’t a finishing step. It’s the part that makes the product work.
What Professional Security Door Installation Involves
Here’s the step-by-step process, and why each stage matters.
Step 1: Assessment and Measurement
What happens: The installer measures the opening precisely width, height, and depth and checks the squareness using diagonal measurements. They identify the wall construction type (stucco, brick, wood frame) and locate the structural framing behind the exterior surface.
Why it matters: A security door is heavy and unforgiving. Unlike a wood door, a steel security door can’t be trimmed on site. If the measurement is off, the unit won’t fit or seal.
Time: 20–30 minutes
Step 2: Preparing the Opening
What happens: The installer removes the existing door hardware or trim as needed and, in stucco homes, cuts back the stucco to expose the structural framing.
Why it matters: This is the step that separates competent installers from the rest. Stucco sits over wire lath and sheathing. It looks substantial but holds screws poorly. To anchor properly, the installer must reach the framing behind it.
Arizona tip: If an installer proposes to anchor directly into the stucco surface, that’s a red flag. Ask specifically how they plan to reach structural framing.
Time: 30–45 minutes
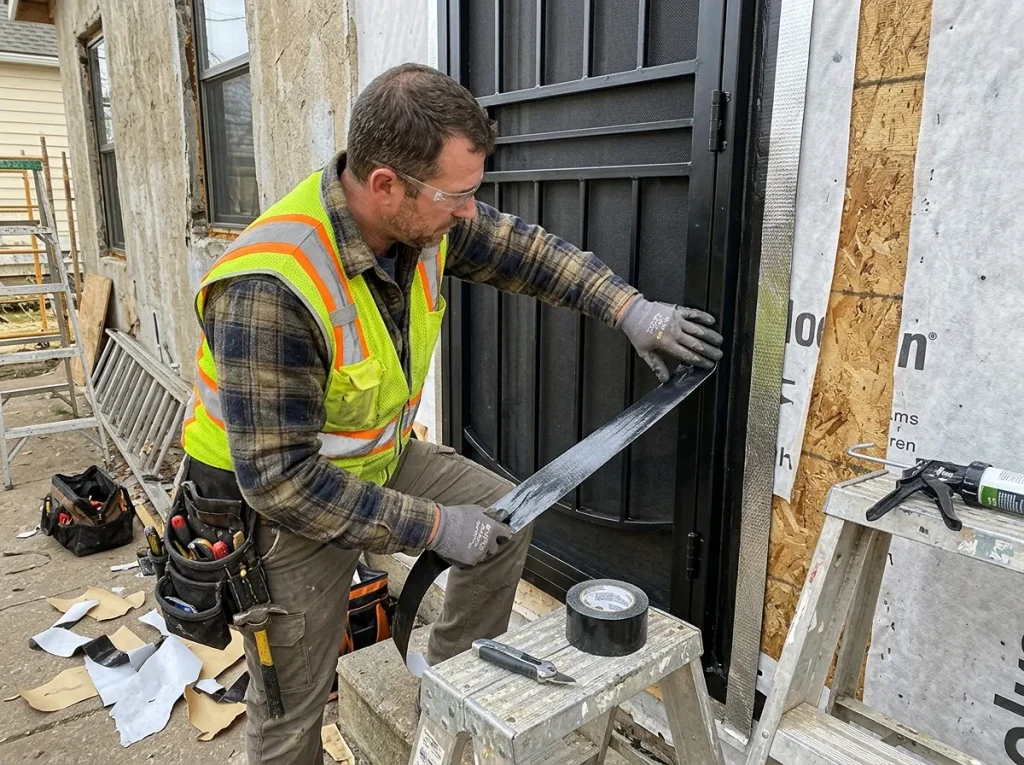
Step 3: Flashing and Waterproofing
What happens: The installer applies flashing tape and sealant around the opening, particularly at the sill, to direct water away from the wall assembly.
Why it matters: This step gets skipped more than any other, and it’s the most expensive to skip. Water that gets behind the frame rots the sheathing and framing, which weakens the anchors that hold your security door in place. A security door that’s been sitting in water for five years is a security door with no holding power.
Time: 20–30 minutes
Step 4: Setting and Leveling the Frame
What happens: The installer positions the security door unit in the opening and uses shims to bring it level and square. Both the vertical plane and the horizontal plane must be checked.
Why it matters: A security door must close and latch properly, and the locking hardware must align precisely. If the frame is out of square, the deadbolt won’t fully seat into the strike and a partially engaged deadbolt is much easier to defeat.
Time: 30–45 minutes
Step 5: Anchoring Into Structural Framing
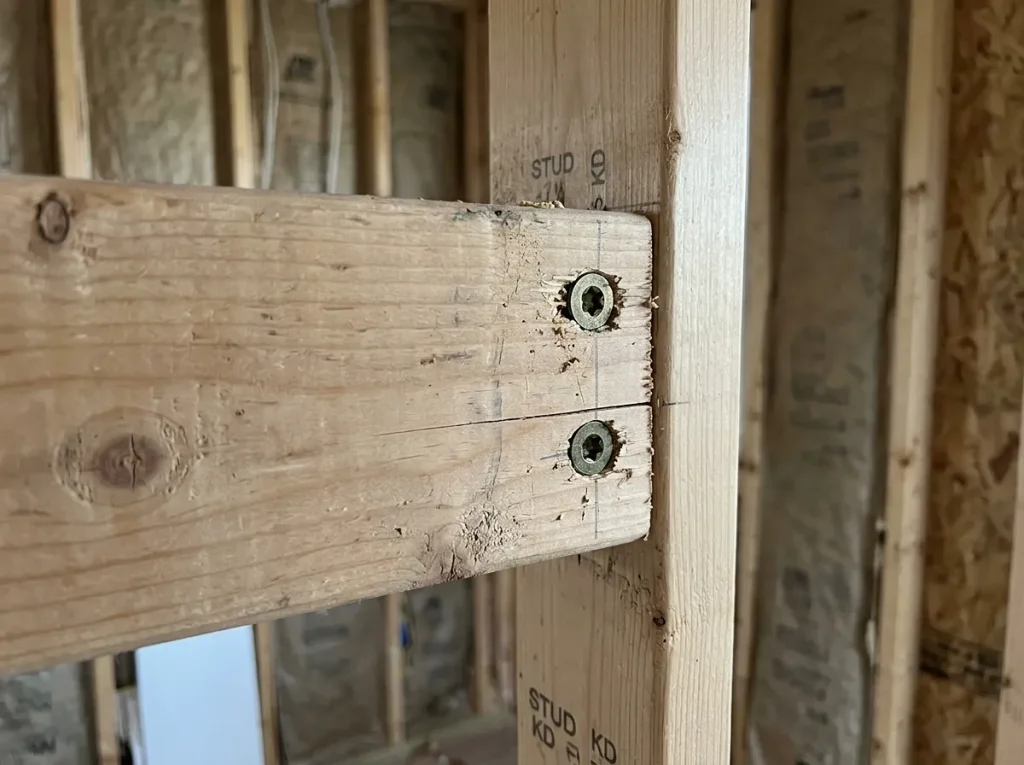
What happens: The installer drives fasteners through the door frame and into the wall’s structural framing typically studs or header material at multiple points along both sides and the top.
Why it matters: This is the step that determines whether your door is a barrier or a decoration. Anchors must reach solid structural material, and there must be enough of them to distribute force across the frame rather than concentrating it at one or two points.
What to ask: “How many anchor points will this installation have, and what are the fasteners going into?”
Time: 30–45 minutes
Step 6: Installing Hardware and Locking Systems
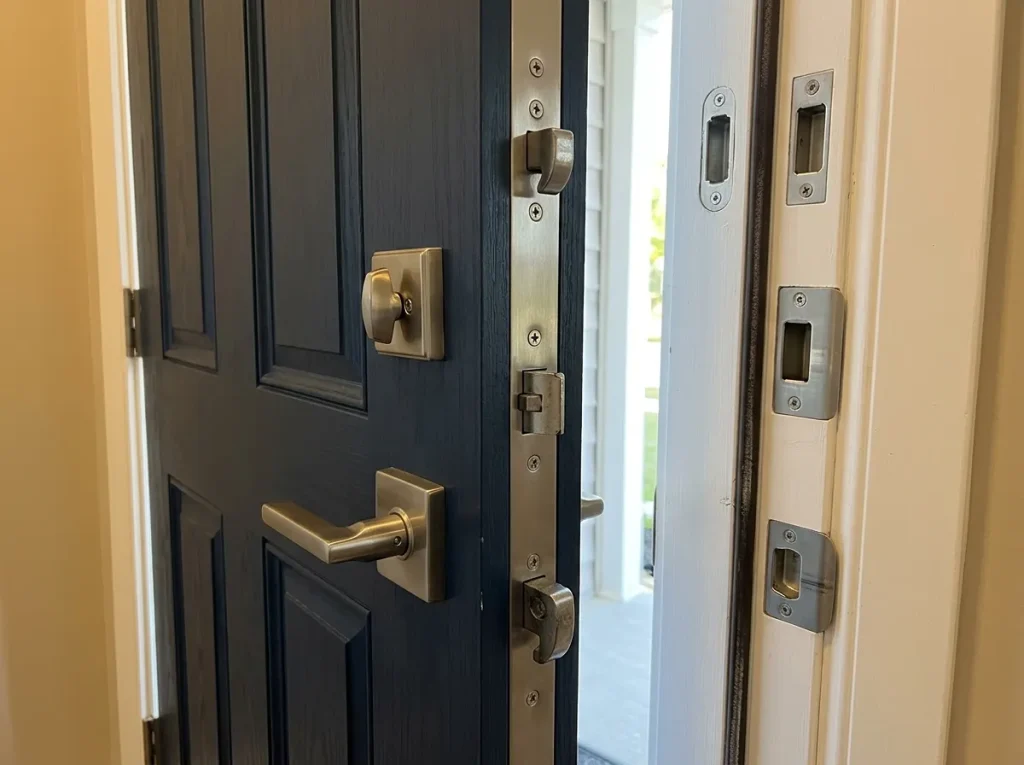
What happens: The installer mounts the locks, handles, and any secondary hardware, then tests that everything engages smoothly.
Why it matters: Multi-point locking systems and deadbolts only deliver their rated security if they’re properly aligned with the strike plates. Misalignment means partial engagement, which is a common and easily exploited weakness.
Time: 20–30 minutes
Step 7: Sealing and Finishing
What happens: The installer applies exterior sealant around the frame perimeter and reinstalls or finishes trim as needed.
Why it matters: Sealing closes the gap between the frame and the wall, which prevents air and water infiltration and removes pry points.
Time: 15–30 minutes
Step 8: Testing and Walkthrough
What happens: The installer opens and closes the door multiple times, tests the lock engagement, checks for gaps, and walks you through operation and maintenance.
Time: 15–20 minutes
Total installation time: Typically 2–3 hours for a standard security door.
What Security Door Installation Costs
| Cost Component | Price Range |
| Basic steel security door (installed) | $400 – $1,000 |
| Mid-range security door (installed) | $800 – $1,500 |
| Premium decorative security door (installed) | $1,200 – $2,000+ |
| Labor only (per door) | $150 – $400+ |
What drives the cost up:
- Stucco exteriors cutting back stucco adds labor (very common in Arizona)
- Brick or stone exteriors more complex anchoring
- Custom sizes non-standard openings
- Multi-point locking systems hardware cost plus installation time
- Second-story or difficult access
- Removing and disposing of an old door
What keeps costs down:
- Standard sizes
- Wood-frame or siding construction (easier access to framing)
- Basic hardware on a quality door
Common Security Door Installation Mistakes
These are the failures that show up most often in post-installation inspections and the ones that quietly undo a good product.
| Mistake | Why It’s a Problem | The Right Approach |
| Anchoring into stucco only | Stucco has almost no holding power; the unit can be pried out | Cut back stucco and anchor into structural framing |
| Too few anchor points | Force concentrates at one or two fasteners | Multiple anchors along both sides and top |
| Skipping flashing | Water rots framing and weakens anchors over time | Apply flashing at sill and perimeter |
| Installing an inswing door | Inswing doors can be pushed inward and pried | Install as outswing wherever code allows |
| Poor leveling | Locks don’t fully engage; door drags | Shim and verify level and square before anchoring |
| Cheap or short fasteners | Don’t reach framing or pull out under force | Use fasteners long enough to reach structural material |
| No sealant at frame | Air/water infiltration and pry points | Seal perimeter after installation |
If your installer mentions any of the left-column approaches → Then ask questions before proceeding. These are the telltale shortcuts.
Real-World Conditions: The “If/Then” Guide
If you have a stucco home → Then confirm that your installer will cut back the stucco to reach structural framing. This is the most common failure point in Arizona.
If you have a brick or block exterior → Then expect additional labor time and confirm the anchoring method for masonry.
If you have a wood-frame or siding home → Then installation is typically more straightforward, since framing is accessible.
If you’re installing on a second story → Then expect higher labor costs and confirm the installer carries appropriate insurance for elevated work.
If the door has glass panels → Then ensure the glass is laminated or impact-resistant. Installation quality doesn’t help if the glass breaks easily.
If you’re replacing an older door → Then have the rough opening inspected for rot before installation. Rotted framing must be repaired before anchoring.
If your door is in a covered entryway → Then it’s somewhat protected from direct rain, but flashing is still required. Water travels.
If you’re in a rental → Then check with your landlord before modifying the entry. Some security doors can be installed without permanent modification.
If you’re comparing door types → Then note that a security screen door installation differs from a solid security door particularly in anchoring requirements and hardware.
If you want the strongest possible installation → Then choose a solid steel door with multi-point locking, anchored into framing, installed as outswing, with laminated glass.
The Regrets Homeowners Mention Most
Regret 1: Trusting an installer who anchored into stucco
This is the single most common failure. The door looks solid, works fine for a couple of years, and then one day someone notices the frame has shifted or worse, discovers it can be pried.
Regret 2: Skipping the flashing to save time
Flashing isn’t visible and doesn’t affect how the door operates on day one. It matters in year five, when water has been working behind the frame.
Regret 3: Choosing a cheap lock on a good door
A Grade 3 latch on a 14-gauge steel door is a mismatch. If the lock fails first, the door’s strength never comes into play.
Regret 4: Not verifying the installer’s stucco experience
Arizona’s stucco construction is a specific skill. Installers from other markets sometimes apply techniques that work elsewhere but fail here.
Regret 5: Accepting an inswing installation because it was easier
Outswing is the standard for security doors because it resists forced entry far better. Inswing should be a deliberate code-driven exception, not a convenience.
Regret 6: Not testing the lock engagement after installation
A door that “closes fine” can still have a deadbolt that only half-seats. Test it before the installer leaves.
Common Questions We Get Asked
How long does security door installation take?
A standard security door takes 2–3 hours. Larger, custom, or decorative units may take longer.
How much does security door installation cost?
Labor typically runs 150–400+ per door. Total installed costs range from 400–2,000+ depending on the door, hardware, and wall construction.
Can I install a security door myself?
We strongly recommend professional installation. The critical steps anchoring into structural framing and proper flashing are difficult to do correctly without experience, and mistakes aren’t visible until years later. Most manufacturer warranties also require professional installation.
Why does anchoring into framing matter so much?
Because stucco, drywall, and sheathing don’t hold fasteners under load. If the anchor doesn’t reach structural framing, the entire door-and-frame unit can be pried out of the wall as a single piece.
Should a security door be installed as outswing or inswing?
Outswing is standard for security doors it resists forced entry far better because the door is pressed against the frame rather than pushed into the room. Local code may require inswing in some situations, but that should be a deliberate exception.
Does installation affect the warranty?
Yes. Most manufacturers require professional installation for warranty coverage. DIY or unqualified installation can void it.
Do I need a permit for security door installation in Arizona?
In most cases, no permit is required for installing a security door on an existing home. Check with your local building department to be sure.
How do I know if my security door was installed correctly?
Check that the door closes and latches fully, the deadbolt seats completely into the strike, there are no gaps around the frame, the door doesn’t drag, and sealant is applied around the perimeter. Then confirm with the installer how many anchor points were used and what they were fastened into.
How much maintenance does a security door need?
Minimal. Lubricate hinges and locks annually, check sealant annually, and touch up any scratches in the finish to prevent corrosion.
What’s the difference between security door installation and security screen door installation?
A solid security door is heavier and requires more substantial anchoring. A security screen door is lighter but still needs proper anchoring and hardware. Both require correct flashing.
Why Talk to Windowz4Less Arizona
A security door is only as good as its installation. The gauge of the steel, the quality of the lock, and the finish all matter but they all depend on the door being anchored into structural framing, flashed correctly, and aligned so the locks actually engage.
Windowz4Less Arizona works with homeowners across Mesa, Phoenix, Scottsdale, Gilbert, Chandler, and the surrounding Valley communities. We install security doors and know Arizona’s stucco construction including how to reach structural framing without damaging the wall. We’ll give you a straight answer about what your entry needs and what it will cost.
Your Next Step
If you’re ready for a security door that actually performs not just one that looks like it might the installation is the part to get right.
Contact Windowz4Less Arizona today for a free, no-obligation estimate. We’ll assess your entryway, explain the anchoring approach for your specific wall construction, and provide professional security door installation you can trust.