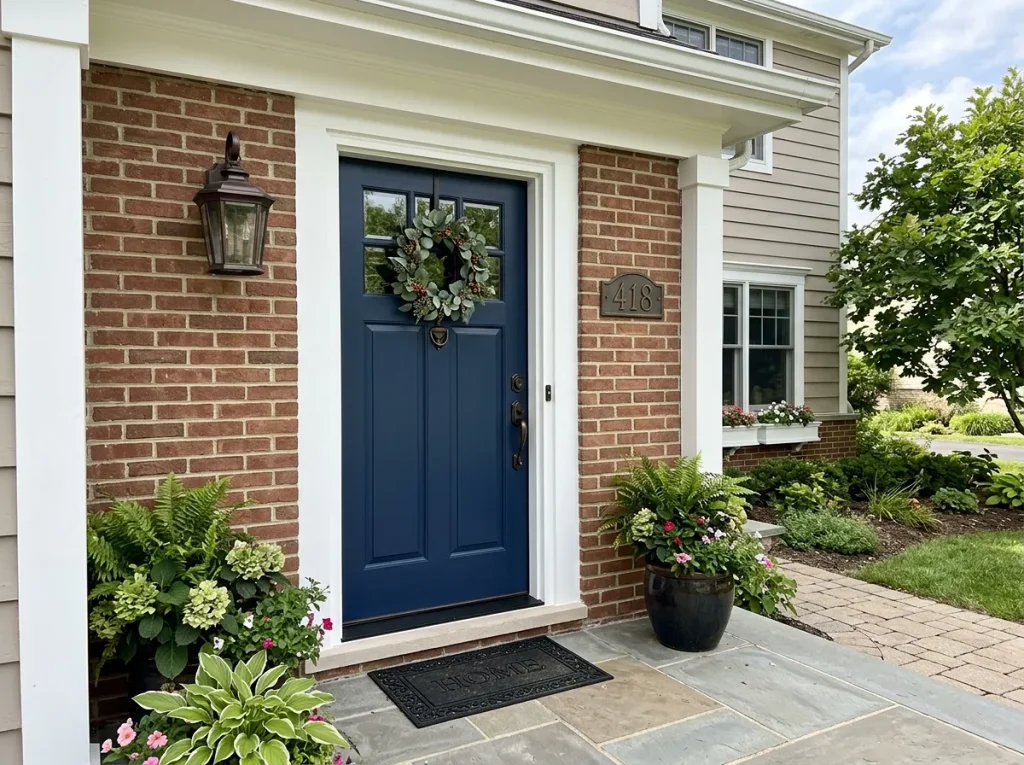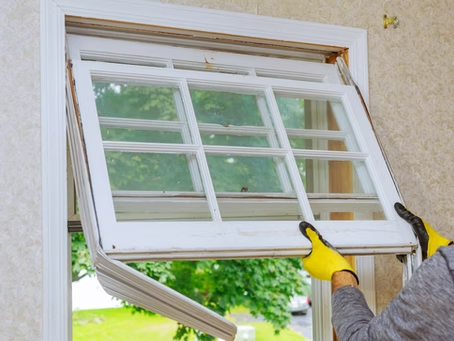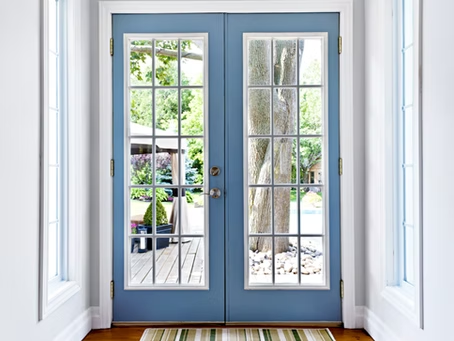
You’ve picked out the perfect new exterior door. You can already picture how it’ll transform your home’s curb appeal and improve its energy efficiency. But now you’re wondering: What actually happens on installation day?
Here’s the honest truth: exterior entry door installation is more involved than most homeowners realize. It’s not just removing the old door and sliding in a new one. It’s a process that involves careful removal, structural inspection, waterproofing, precise alignment, and thorough sealing. Get it right, and your new door will perform beautifully for decades. Get it wrong, and you’ll face drafts, water damage, and costly repairs.
In this guide, we’ll walk you through everything involved in exterior entry door installation from preparation and removal to flashing, hanging, and final inspection. Whether you’re hiring a professional or just want to understand the process, this guide will give you a clear picture of what to expect. And when you’re ready for expert installation, Windowz4Less Arizona is here to help.
Key Takeaways / Quick Summary
- Professional exterior entry door installation costs 200–500+ in labor, with total installed costs ranging from 500–2,500+
- Installation typically takes 2–4 hours for a standard exterior door
- Waterproofing is the most critical step improper flashing leads to rot, mold, and water damage
- The frame must be perfectly level and square for smooth operation and proper sealing
- Arizona’s extreme heat requires Low-E glass and UV-resistant materials for exterior doors
- Professional installation protects your warranty most manufacturers require it
- Common mistakes include poor flashing, insufficient anchoring, and misaligned frames
- Exterior doors should be installed with proper flashing to prevent monsoon water damage
Why Professional Installation Matters for Exterior Doors
Let’s be direct: exterior door installation is not a DIY project for most homeowners. Here’s why:
It requires precise measurements. If the door doesn’t fit the opening properly, you’ll have gaps, drafts, and water infiltration.
It requires proper flashing and waterproofing. Water infiltration is the #1 cause of door failure. Improper flashing leads to rot, mold, and structural damage. In Arizona, monsoon season makes this even more critical.
It requires structural knowledge. The rough opening must be properly prepared, and the door must be anchored into structural studs not just stucco or drywall.
It requires specialized tools. Professional installers use levels, shims, pry bars, caulk guns, and specialized fasteners to ensure a precise fit.
Most manufacturer warranties require professional installation. DIY or unqualified installation can void your warranty, leaving you unprotected if something goes wrong.
The bottom line: Professional installation isn’t a luxury it’s an investment in the performance, longevity, and warranty protection of your exterior door.
The Exterior Entry Door Installation Process: Step by Step
Here’s what professional exterior entry door installation looks like from start to finish.
Step 1: Preparation and Assessment
Before any work begins, the installer assesses the opening and prepares the area.
What they do:
- Measure the rough opening width, height, and depth
- Check the squareness of the opening
- Inspect the existing frame and wall structure for damage
- Determine the swing direction (inward or outward)
- Protect your floors and furniture with drop cloths
- Remove the old door and frame
Why it matters: Proper preparation ensures the new door will fit correctly and prevents damage to your home.
What you should do: Clear the area inside and outside the door. Remove furniture, decorations, and anything that might obstruct the work.
Time: 30–60 minutes
Step 2: Inspecting and Preparing the Rough Opening
Once the old door is removed, the installer inspects the rough opening.
What they do:
- Check for rot, water damage, or structural issues
- Repair any damage before proceeding
- Clean the opening and remove debris
- Check that the opening is square and level
Why it matters: Hidden rot or water damage can compromise the new door’s performance. It’s better to find and fix these issues before installation.
Arizona tip: In older Arizona homes, it’s common to find sun damage and dry rot around exterior door frames. This must be repaired before installing a new door.
Time: 15–30 minutes
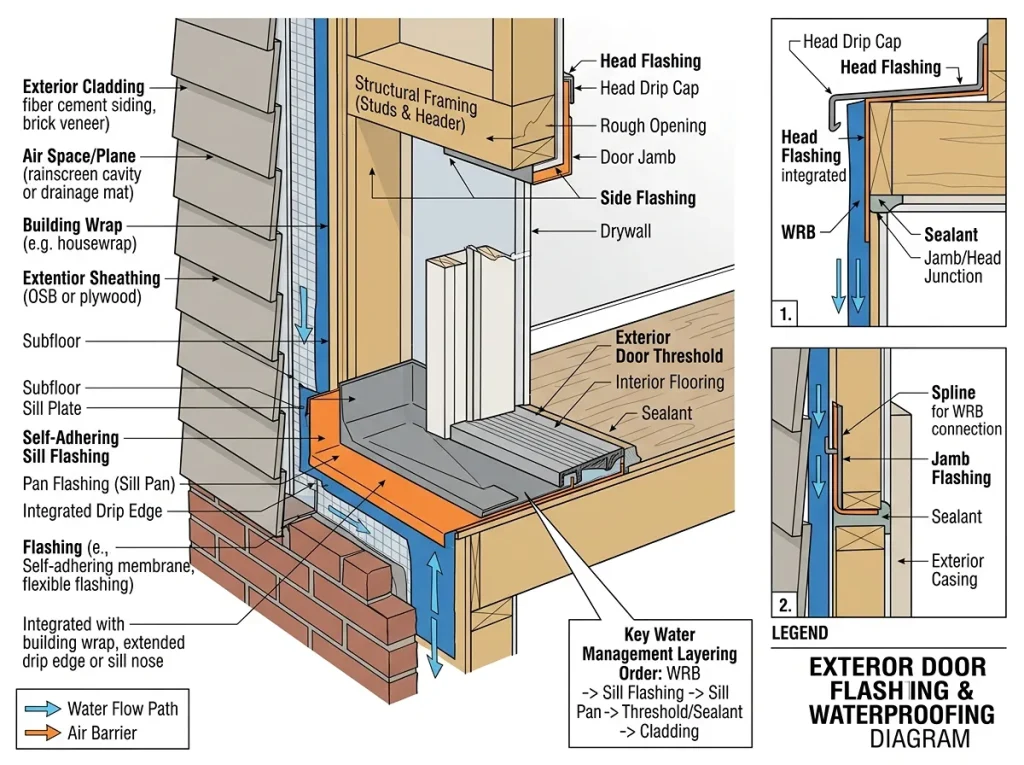
Step 3: Waterproofing and Flashing
This is the most critical step in exterior door installation. Water infiltration is the #1 cause of door failure.
What they do:
- Apply self-adhering waterproof membrane around the opening under the sill, along the sides, and across the top
- Install a sill pan or sloped sill to direct water away from the wall
- Apply flashing tape in shingle-style layers (sill first, then sides, then top)
Why it matters: Improper flashing leads to water damage, rot, and mold. According to industry experts, rot around doors is one of the biggest problems in even relatively new houses.
Time: 30–45 minutes
Step 4: Setting and Leveling the Door
The new exterior door is set into the opening.
What they do:
- Apply a bead of caulk around the perimeter of the opening
- Lift the door unit into place
- Center the door in the opening
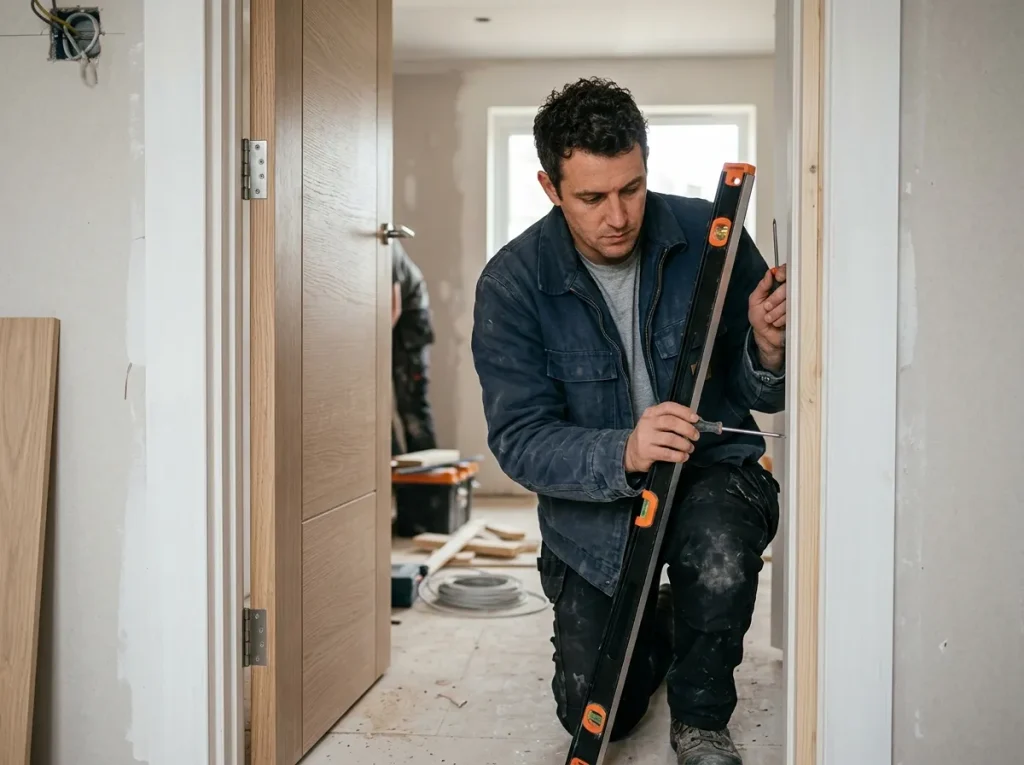
- Use shims to level and square the frame
- Check level and plumb on all sides
Why it matters: If the door isn’t perfectly level and square, it won’t operate properly. It will stick, bind, and fail to seal.
Time: 30–60 minutes
Step 5: Anchoring and Securing
With the door level and square, the frame is anchored into place.
What they do:
- Anchor the frame into structural studs (not just stucco or drywall)
- Use 3-inch or longer screws for maximum holding power
- Check that the frame remains level and square after anchoring
- Adjust shims as needed
Why it matters: Proper anchoring ensures the door stays secure and doesn’t shift over time.
Time: 20–30 minutes
Step 6: Insulating and Sealing
The gaps between the frame and the rough opening are filled and sealed.
What they do:
- Fill gaps with low-expansion spray foam specifically designed for doors and windows
- Apply exterior caulk around the perimeter
- Install weatherstripping if not already attached
- Check for air leaks
Why it matters: Proper insulation and sealing prevent air leaks, water infiltration, and energy loss. In Arizona, this is critical for keeping your home cool.
Time: 20–30 minutes
Step 7: Hardware Installation and Final Adjustments
The final step is installing hardware and making adjustments.
What they do:
- Install handles, locks, and any additional hardware
- Adjust hinges for smooth operation
- Check that locks engage properly
- Test the door through multiple open-close cycles
- Apply any final caulk or trim
Why it matters: Hardware must align perfectly for the door to lock securely. Any misalignment compromises security and operation.
Time: 20–30 minutes
Step 8: Cleanup and Final Inspection
The installer cleans up and walks you through the finished installation.
What they do:
- Remove all debris and packaging
- Clean the door and surrounding area
- Walk through the operation with you
- Answer any questions
- Provide warranty information
Time: 15–30 minutes
How Long Does Exterior Entry Door Installation Take?
Per door: Professional installation typically takes 2–4 hours for a standard exterior door.
Factors that affect timeline:
- Door size and weight larger, heavier doors take longer
- Wall type stucco and brick are more challenging than wood frame
- Existing damage rot or water damage adds repair time
- Accessibility second-story or difficult-to-access locations add time
- Hardware complexity multi-point locking systems take longer to install
- Sidelights or transoms add time and complexity
What you should plan for: Expect the installation to take most of a day. Clear your schedule and be available for questions and the final walkthrough.
How Much Does Exterior Entry Door Installation Cost?
Here’s what you can expect to pay for professional exterior entry door installation in Arizona:
| Cost Component | Price Range |
| Steel Door (Installed) | $500 – $1,200 |
| Fiberglass Door (Installed) | $700 – $2,500+ |
| Wood Door (Installed) | $1,200 – $5,000+ |
| Labor Only | $200 – $500+ |
| Sidelights (Additional) | $300 – $1,500 |
| Smart Lock (Additional) | $200 – $500 |
Factors that affect cost:
- Door material steel is most affordable; wood and fiberglass are premium
- Glass options Low-E, impact-resistant, and decorative glass add cost
- Size custom sizes cost 30–60% more than standard
- Hardware quality hinges, handles, and locking systems add cost
- Installation complexity stucco, brick, and second-story installations cost more
Common Exterior Entry Door Installation Mistakes
After years of fixing bad installations, here are the most common mistakes we see:
Mistake 1: Improper Flashing
Improper or incomplete flashing is the #1 source of leaks. Flashing must be installed in shingle-style layers sill first, then sides, then top. Skipping this step or doing it wrong leads to water damage.
The right way: Use self-adhering waterproof membrane and flashing tape. Create a continuous watertight seal around the entire opening.
Mistake 2: Insufficient Anchoring
Exterior doors are heavy and need to be anchored into structural studs not just stucco or drywall.
The right way: Use 3-inch or longer screws that reach the studs. Anchor at multiple points along the frame.
Mistake 3: Poor Alignment
If the frame isn’t perfectly level and square, the door won’t operate properly.
The right way: Use shims to level and square the frame. Check with a level on all sides. Test the door through multiple open-close cycles before finalizing.
Mistake 4: Skipping the Sill Pan
A sill pan directs water away from the wall. Without it, water can pool at the base of the door and cause rot.
The right way: Install a sloped sill pan or apply flashing tape in a way that creates positive drainage.
Mistake 5: Using the Wrong Foam
Standard expanding foam can bow the door frame and lock the door in place.
The right way: Use low-expansion foam specifically designed for doors and windows.
Mistake 6: Not Sealing Properly
Gaps around the frame let in air, water, and insects.
The right way: Apply exterior caulk around the entire perimeter. Check for air leaks and seal as needed.
Real-World Conditions: The “If/Then” Guide
Here’s how exterior door installation varies based on your specific situation:
If you have a stucco exterior → Then your installer needs to cut back the stucco to access the structural framing. This requires skill and experience not all installers know how to do this correctly.
If you have a brick exterior → Then the installer will need to anchor into the brick and the framing behind it. Brick can be more challenging to work with, but it also provides a solid surface for anchoring.
If you have a wood-frame home → Then installation is more straightforward. The installer can anchor directly into the studs through the exterior siding.
If you’re replacing an existing door → Then the installer will remove the old door and frame, inspect for damage, and install the new door. This may reveal hidden rot or structural issues.
If your opening is not square → Then the installer may need to modify the framing or use additional shims to level and square the door.
If you have a second-story installation → Then expect additional labor costs and safety considerations. Scaffolding or ladders may be required.
If you want maximum energy efficiency → Then choose doors with Low-E glass and insulated frames. This is essential in Arizona’s extreme heat.
If you’re also replacing windows → Then coordinate the projects. Installing doors and windows together ensures a seamless look and optimal performance.
If you want to upgrade security → Then add a multi-point locking system and impact-resistant glass. These upgrades are worth every penny.
If you’re ready to install → Then hire a professional. Even the best door can be compromised by poor installation. Windowz4Less Arizona specializes in exterior entry door installation for Arizona homes.
The Regrets Homeowners Mention Most
After helping thousands of Arizona homeowners with exterior door installation, here are the most common regrets:
Mistake 1: Hiring the cheapest installer
The lowest bid often cuts corners on the most critical steps flashing, anchoring, and sealing. Saving $200 on installation can cost you thousands in water damage repairs.
Mistake 2: Assuming all installers know how to work with stucco
Arizona’s stucco homes require special techniques. Installers who aren’t experienced with stucco may damage the wall or fail to anchor the door properly.
Mistake 3: Not checking the warranty
Some manufacturers require professional installation for warranty coverage. DIY or unqualified installation can void your warranty.
Mistake 4: Skipping the final inspection
Some homeowners don’t test the door thoroughly after installation. If the door doesn’t lock properly or has gaps, you need to know before the installer leaves.
Mistake 5: Forgetting about maintenance
Exterior doors need regular care weatherstripping checks, hinge lubrication, and (for wood doors) refinishing. Neglecting maintenance shortens their lifespan.
Frequently Asked Questions
How much does exterior entry door installation cost?
Professional installation labor typically costs 200–500+ per door. Total installed costs range from 500–2,500+ depending on door material, size, and features.
How long does exterior entry door installation take?
A standard exterior door installation takes 2–4 hours. More complex installations with sidelights or custom sizes may take longer.
Can I install an exterior door myself?
We strongly recommend professional installation. Exterior doors require precise alignment, proper flashing, and structural anchoring. Poor installation leads to leaks, sticking, and premature failure and voids most warranties.
What’s the most important step in exterior door installation?
Waterproofing. Improper flashing is the #1 source of leaks. Proper flashing and sealing prevent water damage, rot, and mold.
How do I prepare my home for exterior door installation?
Clear the area inside and outside the door. Remove furniture, decorations, and anything that might obstruct the work. Keep pets and children away from the work area.
Do I need a permit for exterior door installation in Arizona?
It depends on the scope of the project. Replacing an existing door often doesn’t require a permit, but adding a new door opening may. Check with your local building department.
What’s the difference between exterior door installation and entry door installation?
They’re essentially the same exterior entry door installation refers to installing the primary door that leads into your home. It’s sometimes called front door installation or entry door installation.
How do I know if my exterior door was installed correctly?
Check that:
- The door opens and closes smoothly
- Locks engage securely
- There are no gaps or drafts
- The frame is level and square
- The door seals tightly against the weatherstripping
How do I maintain my exterior door after installation?
Lubricate hinges annually, check and replace weatherstripping as needed, clean the door regularly, and refinish wood doors every 2–3 years (more often in Arizona).
What’s the ROI on exterior door installation?
While exact ROI varies, a new exterior door adds value through improved curb appeal, energy efficiency, and security. It can help your home sell faster and for a higher price.
Why Choose Windowz4Less Arizona?
Windowz4Less Arizona specializes in exterior entry door installation for homes across the Phoenix metro area. We understand Arizona’s unique construction methods including stucco exteriors and we know how to install doors that perform beautifully for decades.
- Local expertise We know Arizona’s stucco homes and how to properly flash and anchor exterior doors
- Quality products We offer steel, fiberglass, and wood exterior doors from leading manufacturers
- Professional installation Our team is trained, insured, and follows industry best practices
- Transparent pricing No hidden fees, no surprises
- Free estimates No-obligation quotes with honest, straightforward advice
- Serving Mesa, Phoenix, and surrounding areas We’re your local experts
When you work with us, you get exterior entry door installation that’s done right properly flashed, perfectly aligned, and built to last.
Your Next Step: Get Professional Exterior Door Installation
Your exterior door is your home’s first line of defense and one of its most visible features. Don’t trust your investment to just anyone.
Contact Windowz4Less Arizona today for a free, no-obligation estimate. We’ll assess your opening, recommend the right door, and provide professional exterior entry door installation you can trust.